

Dogs rely on their ears to stay balanced, communicate, and explore the world around them. But without proper care, their ears can become dirty, irritated, or even infected. Knowing how to clean your dog’s ears safely helps prevent discomfort and keeps their hearing sharp. Whether your dog is a floppy-eared breed or a perky-pup type, this guide will walk you through the safest way to keep their ears healthy.
Why Cleaning Your Dog’s Ears Is Essential
Your dog’s ears are delicate, but they’re also magnets for dirt, wax, and moisture. Regular cleaning isn’t just about hygiene—it’s about prevention. When debris builds up, bacteria and yeast can thrive, leading to painful ear infections.
Think of ear cleaning like brushing teeth. You wouldn’t wait until there’s a problem to act, right? The same goes for your pet’s ears. A simple cleaning routine can save you (and your dog) from unnecessary vet visits and discomfort.
Common signs that your dog’s ears need cleaning include:
- Scratching or pawing at the ears
- Shaking their head frequently
- A foul smell coming from the ears
- Visible dirt, wax, or discharge
- Sensitivity when you touch their ears
If you notice these signs, it’s time to roll up your sleeves and learn how to clean your dog’s ears safely.
Understanding Your Dog’s Ear Structure
Before cleaning, it’s helpful to understand what you’re working with. A dog’s ear canal is L-shaped—meaning debris can easily get trapped inside. This design makes cleaning a bit tricky, but also highlights why gentle methods are essential.
The outer ear, called the pinna, is what you see and touch. Inside, the ear canal extends vertically, then makes a sharp horizontal turn. Using cotton swabs or inserting anything deep into the ear can damage this canal or push debris further in. Instead, safe cleaning focuses on the outer and accessible parts.
Breeds like Cocker Spaniels or Basset Hounds, with long floppy ears, are more prone to wax buildup and infections due to less air circulation. Knowing your dog’s anatomy helps you adapt your approach.
How Often Should You Clean Your Dog’s Ears?
The frequency depends on your dog’s breed, lifestyle, and health. Active dogs that swim or play outdoors might need more frequent ear cleanings than couch-loving companions. On average, once every two to four weeks works for most dogs.
However, avoid over-cleaning. Just as too much washing can dry your skin, excessive ear cleaning can strip natural oils and irritate the ear canal. Balance is key.
If your vet has recommended a specific schedule due to allergies or chronic infections, stick to that plan. Otherwise, a monthly cleaning routine should keep things under control.
What You’ll Need to Clean Your Dog’s Ears
Gathering the right supplies before you start makes the process smoother for both of you. Here’s what you’ll need:
- A vet-approved ear cleaning solution
- Cotton balls or soft gauze pads
- A towel (for any shake-offs!)
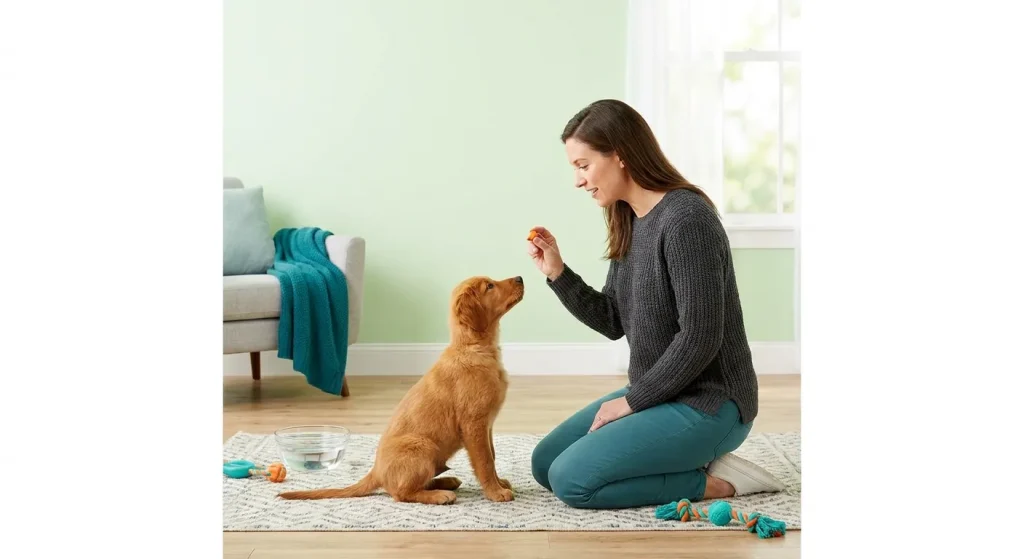
- Treats for rewarding your dog
- Optional: a second person to help keep your dog calm
Avoid alcohol, hydrogen peroxide, or harsh cleaners—they can irritate the ear and cause pain. A gentle ear cleaner formulated for dogs is always best.
Step-by-Step Guide: How to Clean Your Dog’s Ears Safely
Cleaning your dog’s ears safely doesn’t have to be stressful. Follow these steps to make it easy and effective.
Step 1: Create a Calm Environment
Pick a quiet spot where your dog feels comfortable. Sit beside them and gently pet their head to relax them. If they’re anxious, start with short sessions until they get used to the routine.
Step 2: Inspect the Ears
Look for redness, swelling, discharge, or an unpleasant smell. If you see any of these, stop and call your vet. Cleaning an infected ear can make things worse. If the ears look generally healthy but slightly dirty, you can proceed.
Step 3: Apply the Cleaning Solution
Hold the ear flap upright and squeeze the cleaning solution into the ear canal. Don’t insert the nozzle too deeply—just enough for the liquid to enter. You might hear a squishing sound; that’s normal.
Step 4: Massage the Base of the Ear
Gently massage the base of your dog’s ear for about 30 seconds. This helps loosen dirt and wax inside. Most dogs actually enjoy this part—it feels like a mini ear massage.
Step 5: Let Your Dog Shake
Allow your dog to shake their head. This action helps bring debris and excess cleaner to the outer ear where you can easily wipe it away.
Step 6: Wipe Away the Debris
Use a cotton ball or gauze to wipe the outer ear and the folds inside the ear flap. Never use cotton swabs inside the canal—they can push wax deeper and cause damage.
Step 7: Reward and Repeat
Praise your dog and give them a treat! Positive reinforcement builds trust, making future cleanings easier. Repeat the process for the other ear if needed.
Common Mistakes to Avoid When Cleaning Your Dog’s Ears
Even with the best intentions, it’s easy to make mistakes when cleaning your dog’s ears. Here are the most common ones to avoid:
- Using the wrong products: Always stick to vet-approved ear cleaners.
- Cleaning too often: This can irritate the ear canal.
- Inserting swabs or tools: Never push anything deep into the ear.
- Ignoring signs of infection: Redness, odor, or discharge require a vet’s attention.
- Skipping rewards: A small treat goes a long way in building a positive experience.
Avoiding these errors ensures that you truly clean your dog’s ears safely without causing discomfort or damage.
When to See a Vet for Ear Problems
Sometimes, home cleaning isn’t enough. Persistent odor, redness, or your dog scratching nonstop are red flags. These symptoms may indicate an ear infection, mites, or allergies.
Your vet can examine the ear canal using an otoscope and may prescribe medication or ear drops. Never attempt to treat a suspected infection at home with over-the-counter products unless directed by your vet. Early intervention prevents complications and keeps your dog healthy.
Tips to Keep Your Dog’s Ears Healthy Between Cleanings
Maintaining clean ears isn’t just about cleaning—it’s about prevention. Here’s how to keep them healthy between grooming sessions:
- Dry your dog’s ears thoroughly after baths or swims.
- Check ears weekly for buildup or odor.
- Trim hair around the ears to promote airflow.
- Use ear wipes for quick maintenance.
- Keep up with regular vet checkups.
A little consistency goes a long way. Just like brushing their coat or trimming their nails, ear cleaning should become part of your dog’s care routine.
Conclusion
Learning how to clean your dog’s ears safely is one of the simplest ways to protect their comfort and well-being. It strengthens your bond and prevents painful issues down the road. With the right tools, gentle hands, and patience, you can turn ear cleaning into a stress-free, positive routine your dog might even enjoy.
Remember, clean ears mean a happy, healthy, and more comfortable companion by your side.
FAQ
1. How often should I clean my dog’s ears?
Most dogs benefit from ear cleaning once every two to four weeks, depending on their activity level and ear type.
2. Can I use baby wipes to clean my dog’s ears?
It’s better to use dog-specific ear wipes or solutions. Baby wipes can contain ingredients that irritate your dog’s ears.
3. What if my dog hates ear cleaning?
Start slow, use treats, and keep sessions short. Over time, your dog will associate ear cleaning with positive experiences.
4. Are floppy-eared dogs more prone to ear infections?
Yes. Breeds with floppy ears trap moisture more easily, which can lead to infections if not cleaned regularly.
5. Can I use hydrogen peroxide to clean my dog’s ears?
No. Hydrogen peroxide can irritate and dry out the ear canal. Stick to vet-approved ear cleaning solutions instead.