
A good hamster cage setup gives your pet room to dig, hide, run and chew, which are all things hamsters love to do. Some cages sold for hamsters are smaller and plainer than a hamster really needs. This guide explains how to choose an enclosure, fill it with the right features and place it well in your home. It also covers a simple cleaning routine and the signs that something in the setup is not working.
Who this guide is for
This guide is for new hamster owners planning their first enclosure. It also suits owners who want to upgrade an existing cage. The steps apply to the common pet hamster types, but needs can differ between them. Therefore, check a current care sheet for your hamster’s type, or ask an exotics vet, before you buy anything.
Step 1: Choose the enclosure for your hamster cage setup
The single most useful rule is simple: choose an enclosure as large as you can fit. Hamsters are active at night and cover a lot of ground, so floor space matters more than height. Check a current welfare guide for the minimum size, because older shop advice may be out of date.
- Measure your space first. Then look for the largest enclosure that fits it safely.
- Prioritise floor space. A single wide level is usually safer than tall, stacked levels. Hamsters can fall from high platforms.
- Check the floor. It should be solid, never wire mesh, so it holds bedding and protects small feet.
- Check the sides. Bar cages need narrow bar spacing so the hamster cannot squeeze through. Glass or clear plastic tanks need good airflow from a mesh lid.
- Think about access. A large door or removable top makes cleaning and spot checks much easier.
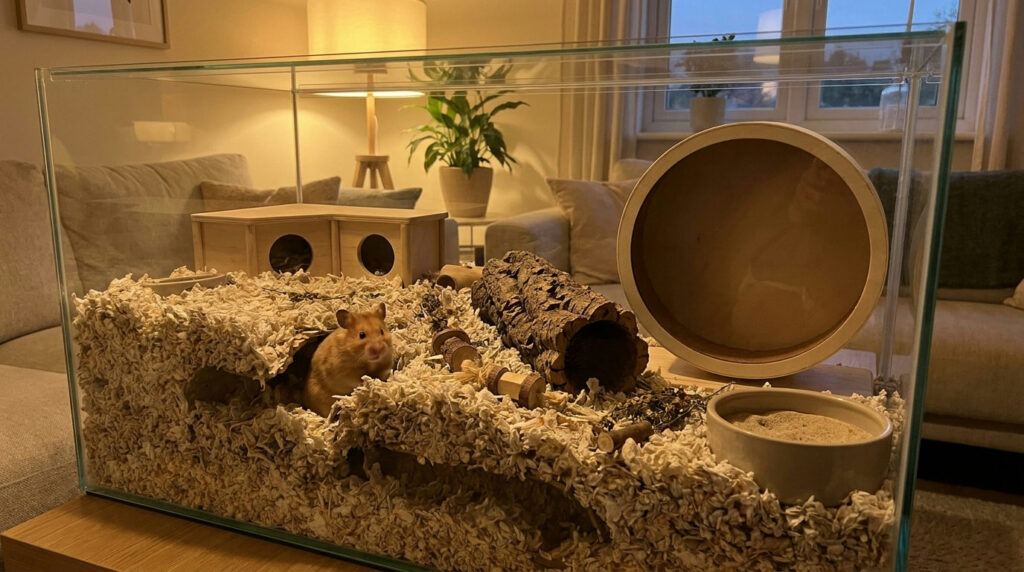
Common options include large bar cages with a deep base, glass tanks and converted storage units. Each type has trade-offs, as the table below shows.
| Enclosure type | Good points | Things to watch |
|---|---|---|
| Bar cage with a deep base | Good airflow, easy to attach items | Bars may be chewed or climbed; bedding can spill if the base is shallow |
| Glass or clear tank | Holds deep bedding well, easy to see your pet | Heavy; needs a secure mesh lid for airflow |
| Converted storage unit | Can offer lots of floor space | Must use safe materials and plenty of ventilation |
Step 2: Add deep bedding for burrowing
Hamsters are natural diggers. In the wild they build burrows to sleep, hide and store food. Deep bedding lets your hamster do the same, and it may help your pet feel more secure.
- Use a soft, low-dust bedding, such as a paper-based bedding. Some owners mix it with suitable wood shavings to help tunnels hold their shape.
- Fill the enclosure deeply. Aim for as much depth as your enclosure allows, and check a care sheet for a recommended level.
- Pack some areas more deeply than others, so your hamster can choose where to dig.
- Add nesting material such as plain paper strips or soft hay. Let the hamster build its own nest rather than stuffing the hide for it.
- Avoid scented bedding and fluffy cotton-wool style nesting, because loose fibres can wrap around tiny limbs.
Step 3: Give your hamster hides and places to explore
Hamsters are prey animals, so they need places to feel hidden. Offer more hides than you think you need, so your pet always has a choice.
- Include at least one dark, enclosed hide for sleeping. Multi-room wooden hides, ceramic pots and plain cardboard boxes all work.
- Place the main hide away from the water bottle or bowl, so the nest stays dry.
- Add tunnels, cork pieces or cardboard tubes to link different areas.
- Scatter some food in the bedding instead of only using a bowl. Foraging gives your hamster something useful to do.
Step 4: Pick a suitable wheel, chews and a sand bath
A wheel lets your hamster run at night, but the wrong wheel can cause problems. The right chews and a sand bath add more enrichment to your hamster cage setup.
Wheel suitability
- Choose a wheel with a solid running surface. Avoid wheels with rungs or gaps that can trap feet.
- Check that your hamster can run with a straight back. If its back arches while running, the wheel is too small.
- Secure the wheel so it does not wobble or tip over.
- Check a care sheet for wheel guidance that suits your hamster’s type.
Chew items
Hamster teeth keep growing, so chewing is a natural and healthy habit. Offer untreated, pet-safe wood, plain cardboard and hay-based chews. Swap them out when they become dirty or damp.
Sand bath
Many hamsters enjoy rolling in sand to groom their coat. Place a shallow dish of clean sand sold for small pets in a corner. Avoid fine dusts, and check a care sheet for safe sand types.
Step 5: Place the enclosure in the right spot
In any hamster cage setup, where you put the enclosure matters as much as what goes inside it. A poor spot can leave a hamster stressed, even in a large, well-filled cage.
- Keep it out of draughts, so avoid spots near doors, open windows or air vents.
- Keep it out of direct sun, because enclosures can heat up quickly.
- Choose a quiet room, away from televisions, speakers, washing machines and busy hallways.
- Place it on a sturdy surface, away from radiators and heaters.
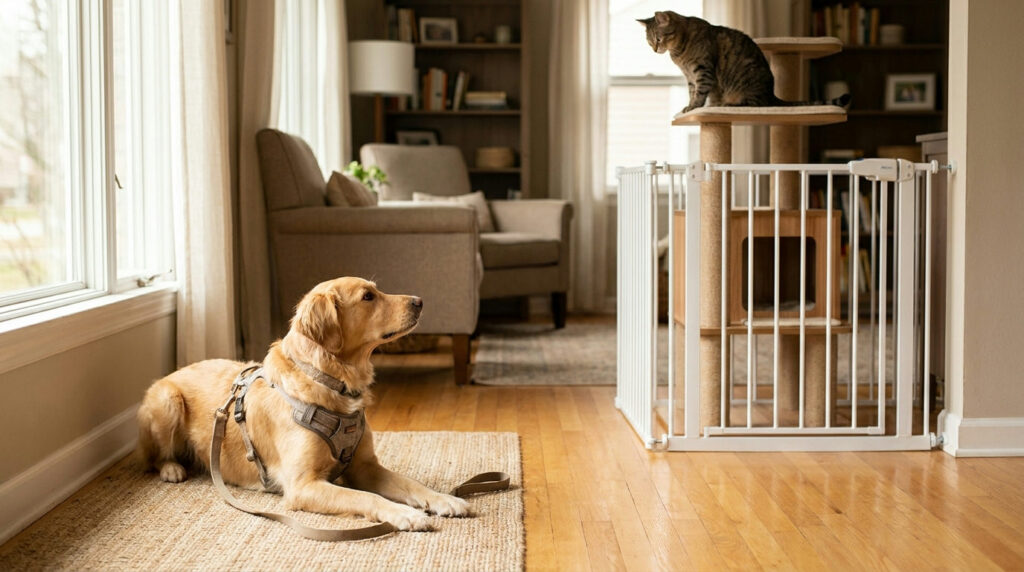
- Keep it away from other pets, especially cats and dogs, that might watch or bother your hamster.
- Check a species-specific care sheet or ask an exotics vet for the right room temperature range.
Step 6: Follow a simple cleaning routine
A good routine keeps the enclosure fresh without destroying the burrows your hamster has worked hard to build. In general, you will mix frequent spot cleans with occasional fuller cleans.
| Task | What to do | Tips |
|---|---|---|
| Spot clean | Remove wet or soiled bedding, leftover fresh food and droppings from the toilet corner. Refresh water. | Do this regularly, and leave the nest and burrows alone where you can. |
| Full clean | Replace most of the bedding and wash hides, bowls and the wheel with a pet-safe cleaner. | Keep a handful of clean, dry old bedding and mix it back in, so the enclosure still smells familiar. |
Clean while your hamster is awake, usually in the evening, rather than waking it during the day. Ask a care sheet or your vet how often a full clean suits your setup, because larger, deeper enclosures may need full cleans less often.
Signs the setup isn’t working
Your hamster’s behaviour can tell you a lot about its home and whether your hamster cage setup suits it. Use this checklist to spot problems early.
| What you notice | Possible cause | What to try |
|---|---|---|
| Chewing the cage bars over and over | Not enough space, bedding or enrichment | Upgrade the enclosure, add deeper bedding and more chews |
| Pacing or climbing the walls | Boredom or too little floor space | Add tunnels, hides and scatter feeding |
| Nest built in an odd spot | Hide in a bright, noisy or damp area | Move hides to a quieter, darker corner |
| Not using the wheel | Wheel too small, noisy or unsteady | Try a larger wheel with a solid surface |
| Strong smell soon after cleaning | Toilet area not spot cleaned often enough | Spot clean the toilet corner more often |
If you notice weight loss, a change in eating, wet fur around the tail, limping or anything else unusual, contact your vet promptly.
Find more small pet care ideas in our small pets guides.
Where to read more: RSPCA: creating a good home for hamsters and PDSA: hamsters as pets.
Key takeaways
- Choose an enclosure as large as you can fit, and check a current welfare guide for minimums.
- Give your hamster deep, low-dust bedding so it can burrow.
- Provide several hides, tunnels, safe chews and a sand bath.
- Use a solid wheel that lets your hamster run with a straight back.
- Place the enclosure away from draughts, direct sun and noise.
- Spot clean often, and keep some old bedding during full cleans.
A thoughtful hamster cage setup takes a little planning, but it gives your pet a calmer, more natural home to explore every night.
Written by the Types of Pets Editorial desk. This guide is general information, not veterinary advice; talk to your vet about your own pet. Disclosure: this guide contains no affiliate or sponsored links.